Q4Radiant Introduction - Build a Basic Room
Introduction to Q4Radiant
This tutorial assumes a two mouse button configuration.
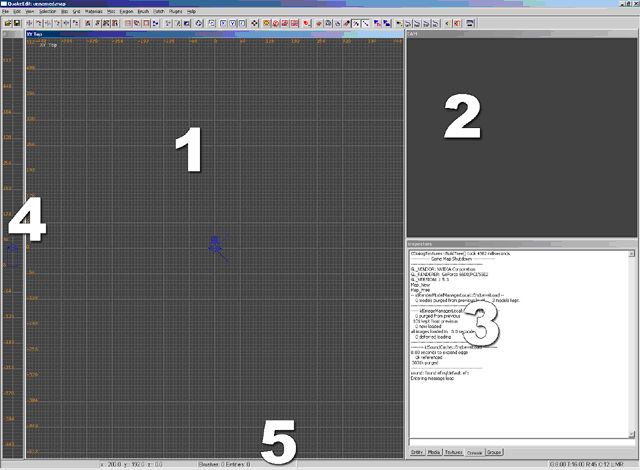
Don’t be alarmed that yours looks different, you can shuffle windows around to get a workspace that works best just by dragging and resizing the windows. Colors customization can be accessed through the top menu “Misc > Colors”
- Main View – This is where most of your work is done. You can use “ctrl-tab” to toggle between your side, front, and top views. Note when you hit ctrl-tab that the text indicator in the top left changes to show you what view you’re currently looking at.
- 3D Preview Window – You can view your work here as well as preview lights in this window.
- Entity/Media/Texture/Console Window – Select one of the tabs to view the appropriate information.
- Z Window – Used primarily for moving and sizing geometry vertically.
- Status Bar – Displays important information such as xy position, grid settings, and texture lock. Important items to note:
G - Grid size 8.00 is 8x8, etc
R - Rotation Lock
L - Texture lock modes. Textures stay locked to your brush as you either move them "M" or rotate them "R." Turn this off if you do not wish the texture to stay with the object as you move it.
Other Information
The blue Z in the middle of the main view is used in conjunction with the Z Window. You can move this around using shift-middle click and if you have brushes intersecting it vertically they will show up in your Z Window. It’s used more or less as a guide so you can see where your floor and ceilings are in the Z Window.
The small diamond with the lines extending from it is your current position and view in 3D space. The lines extending is your view direction. You’ll see more of how this works later as you build your first room but for now just keep in mind it’s your view.
A Basic Room
Radiant has a nonstandard interface for moving about in 3D space but after some time you’ll find that it’s really quite simple and very fast. After completeing this tutorial you should have a basic understanding on how to create and resize brushes as well as move the 3D view around.
To start left click in the 2D main view and draw out a square.
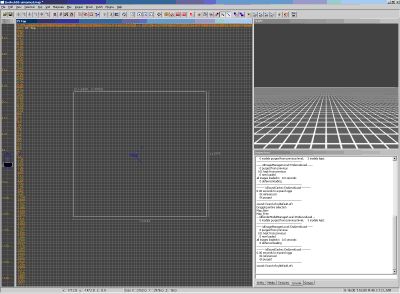
You’ve just created a brush. If you release the mouse button you can still resize the selected brush by left clicking outside the brush on the particular side you wish to resize and drag it where you need to. If you left click inside the bounds of the brush you can move the brush around.
To deselect the brush hit “Escape.” To select the brush again use shift-left click.
If you accidentally created another brush after deselecting your first brush you can delete it first by selecting it, shift-left click, and then hitting “Backspace.”
Now that your brush is created you probably want to look at it better in the 3D view to see exactly what you’ve made. To do this there are several keys for navigation:
- C – Move Up D – Move Down A – Rotate Up Z – Rotate Down Arrows – Move
Using these you can rotate and look around at your newly created brush.
Now that you’ve got your first brush created let’s go ahead and turn it into something. This first brush will be our floor for your first room.
Next we need to build up one of the walls for your room. Make sure your brush is deselected and then draw out a new brush making sure that it touches the floor:
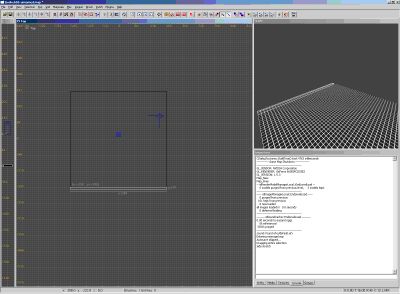
While the brush is still selected hit ctrl-tab to switch to a side view and drag the upper edge of the brush up. Once satisified with the height, hit ctrl-tab twice more to return to the top view. You should have a view similar to something like this:
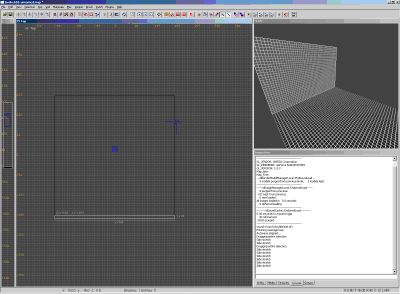
In the grid view it looks the same as before but in the 3D view we now have what appears to be a wall. In order to complete the room we’ll need a few more walls. You can accomplish this in one of two ways. The first way is to simply deselect the brush and draw a new wall. You’ll notice that if you do this, the new brush has the same height as the last selected brush.
The second method is to select our wall and hit the “Spacebar.” This will Clone the brush, essentially a fast copy and paste. Using one of these two methods, clone or create the rest of the walls required for your room. You should end up with what resembles a room without a ceiling:
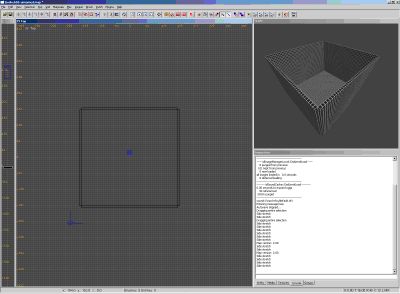
To create the ceiling of the room select the floor brush in the main view and move it up top so it rests on top of your box. You can do this by either moving it up in the main view (hit ctrl-tab to view it from the side and drag it upwards) or by moving it in the Z Window. You can move where the Z window checker is (the blue Z) by shift-middle clicking the main view and dragging it into a new position.
Move your 3D view inside your room. You should now be inside the room. Since this checker box isn’t very appealing we’ll probably want to texture it with something more appropriate for a room.
To do this, select the Media tab (in my screenshots you can see the console window on the bottom right). Here there will be a folder system that resembles something similar to Windows Explorer.
To load some textures click on the textures “+” icon, this will expand the folder tree. If you double click on “Textures” the editor will load every single texture in the game which can take a very long time, so for the sake of organization, textures are broken down into a variety of categories.
With the Textures folder expanded, double click on “common_floors.” This will load all the textures in common_floors into radiant for use in your room. To view them click on the “Textures” tab at the bottom of this window:
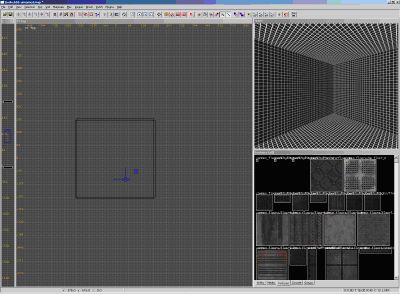
We now have some textures to work with. By now you may have discovered that if you want to select your floor to resize it won’t be selectable in the 2D view because you’ve got a ceiling on your box. It’s important to understand that the 2D view selects top down.
When your map grows more and more complex and has features over and under each other it’s important to use the 3D window select your brushes. In the 3D window go ahead and position your view so you can see the floor and then select it.
With the brush now selected left click on a texture you wish to apply to the surface. Your floor is now textured. Deselect the floor and go ahead and repeat the process for the walls and the ceiling. You may want to load a texture from “common_walls” for your wall texture to give it some variety.
Also for quick texturing you can select multiple brushes at once and apply a texture to all of them at the same time.
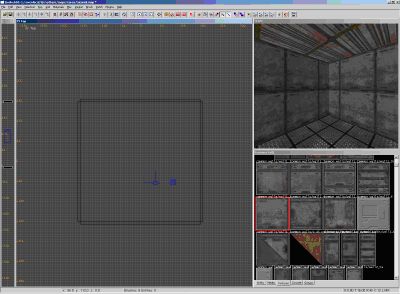
In the end you should be left with something as follows:
Save Your Work (Often)
Time to save your map. Save it in q4base/maps/tutorial/room.map (you may need to create the “maps” and “tutorial” directories as needed). You can save it anywhere you want within maps, but it has to be somewhere in q4base/maps in order for the game to load it.
Basic Texture Manipulation
Being able to move and resize textures is a key aspect of building your level. You’ll notice in the example map the edges of the plating panel doesn’t line up with the corner of the room. To fix this first we’ll have to turn on Texture Lock in the preferences:
Hit “P” for Preferences and then select “Snap T To Grid.” Make sure this is checked and select ok. What this does is allows you to move textures based on your grid size. More on grid sizes later.
With the one wall selected, hold shift and hit an arrow button. You’ll notice the texture begins to shift. You can use this to line up the edges of your textures with your world architecture:
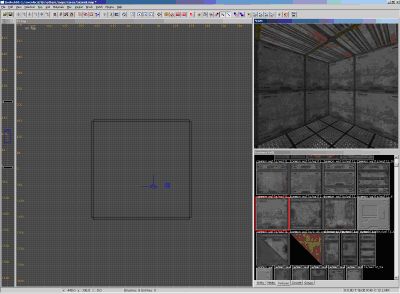
To further expand on texture manipulation and grid sizes let’s build a pillar somewhere in the room. To do this, let’s make the pillar 64x64 units. One way to do this is to draw it out on our current grid size to be the size that we want, or we can switch the grid to a larger size to make sure our brush is exactly the size we want it.
Hit “7” on your keyboard. The minor grid lines should disappear and leave you with just the major grid lines. You are now on the 64x64 grid. Draw a new brush somewhere in your room. You’ll notice that you have to draw it slightly bigger for it to appear and it’ll snap to these larger grid lines. Hit the number “4” to go back to the 8x8 grid and you’ll see all the minor grid lines appear.
Play with the numbers 1-7 to view the different grid sizes available to you.
Finish your pillar by selecting it and using either the Z Window or using ctrl-tab to switch views to stretch it out vertically:
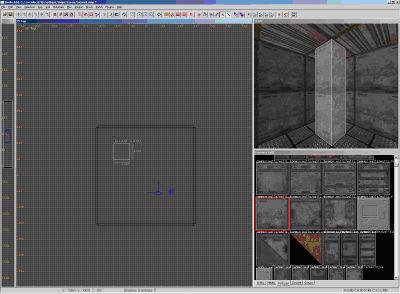
Now we’re going to need to texture this pillar with a cool pillar texture to make it look interesting. To do this, load the common_walls directory the same way that we loaded them in previous. Select a texture that looks like it’ll fit on the pillar:
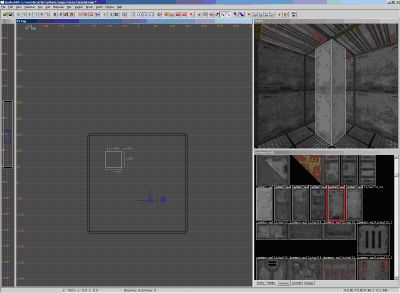
We’ve now got a pillar set up. If you wanted to get a bit more in depth you can also select faces to texture them differently. To do this you can ctrl-shift-left click on any surface in the 3D window and select it. Do this on one of the faces of the pillar and then once it’s selected, select a new Texture in the Texture window:
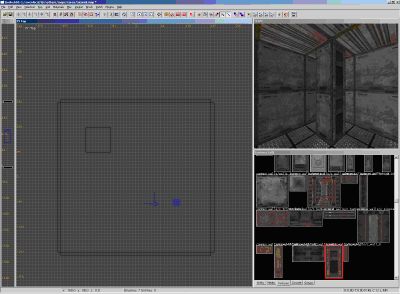
You can transfer this texture to other faces as well. Without having to select each face individually and then selecting it from the Texture window.
Select the Face on the brush you wish to transfer to a new Face. With it selected ctrl-shift-middle click on a new face (preferably your pillar) and you’ll see the same texture appear on the pillar. This can be used to quickly texture faces in a room without having to keep using the Texture window.
Basic Lighting & Entity Placement
Given that lights are entities we’ll cover both quickly in the same group. To drop any entity in the game (an entity could be spawn points, lights, or creatures for example) right click in the 2D window. A menu will appear. Select “Info > info_player_start from the list.
There will now be a player start somewhere in your map. This is where the player spawns so it’s important to make sure this is inside your room somewhere. Go ahead and move it like you would a brush into your room and align it with the floor.
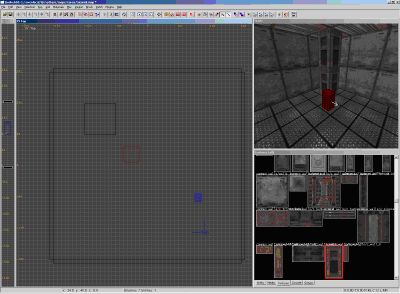
Add a light to the scene to allow the player to see his surroundings. Right click in the main view again and select “Light.” A light will now be somewhere in the map, move this light inside of the box room.
Hit F3 and your 3D preview will turn into a preview of what your room will look like in game. Go ahead and move the light around to get a placement that you’d like.
Compiling & Running the Map
Save the map and select BSP > BSP from the menu. The editor will compile your map in a few short seconds and then you’ll be done. When the console is done writing out all the files go ahead and hit F2 to load a window copy of the game.
For simplicity sake we’re going to run the map using the F2 button. This can be unstable however and it is a lot safer to run two copies of the game (one editor, one windowed game instance) and then just tab between the two for testing or building.
Load your map using the map command: map yourmapname”
If you saved it in the same spot as described in this tutorial it would be: “map tutorial/room.map”
